Template Properties
Template properties control template-level settings that apply to the entire template. This includes naming, printer selection, and print-to-file configuration.
Accessing Template Properties
To edit template properties:
- Open your template
- Click Options → Customize Template
- Below the Label Builder, click Properties
The Properties dialog opens with several configuration options.
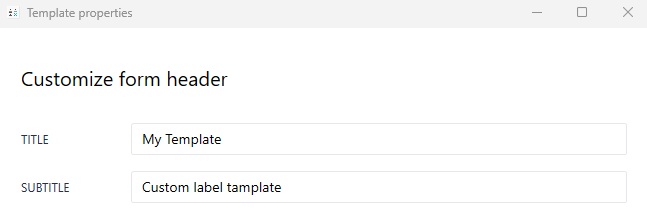
Template Naming
Edit Name
Printer Selection
You can add the ability to print to different printers by adding a printer selection dropdown box to the print form. This is only recommend if you need to rotate multiple printers with the same template, or if you commonly switch from your printer to Print to Images or Print to File.

Configure which printers are available for this specific template.
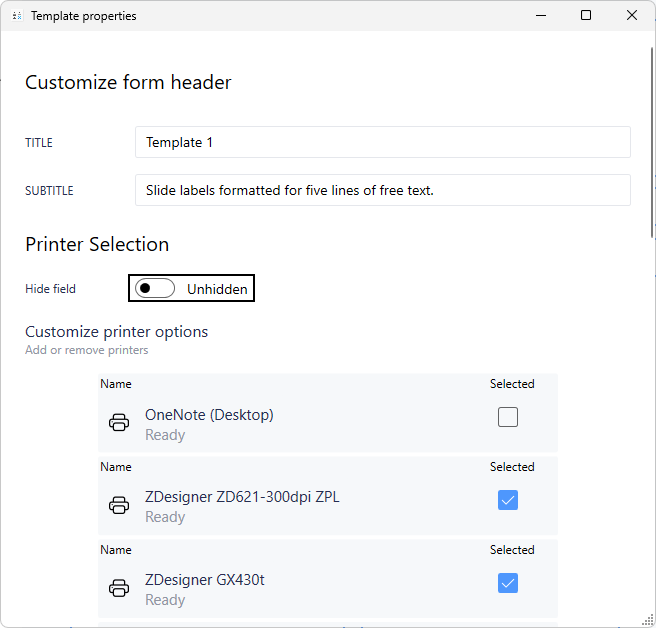
Hide Field Toggle
By default, the printer selection dropdown is hidden on the template form.
To show printer selection:
- In Properties, locate Printer Selection
- Toggle Hide field to OFF
- Select which printers should be available
Selecting Available Printers
Once unhidden, you can choose which printers appear in the dropdown:
Options:
- Default system printer
- All installed printers
- Specific printers only (check boxes next to printer names)
Typical Setup:
- Unhide the printer field
- Check only the printers relevant to this template
- Save settings
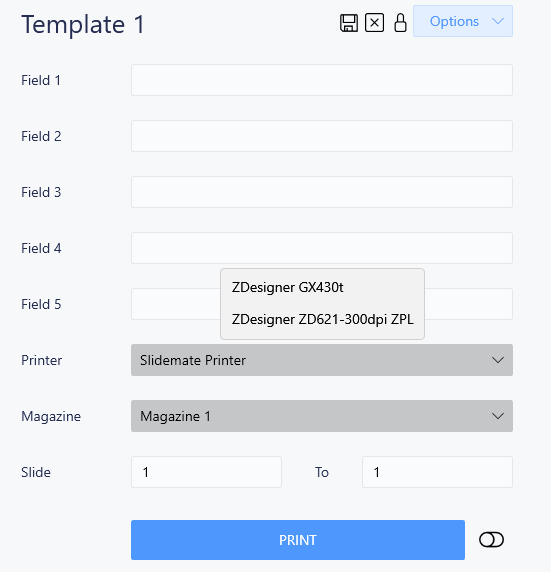
Result: A printer dropdown appears on the template form, showing only selected printers.
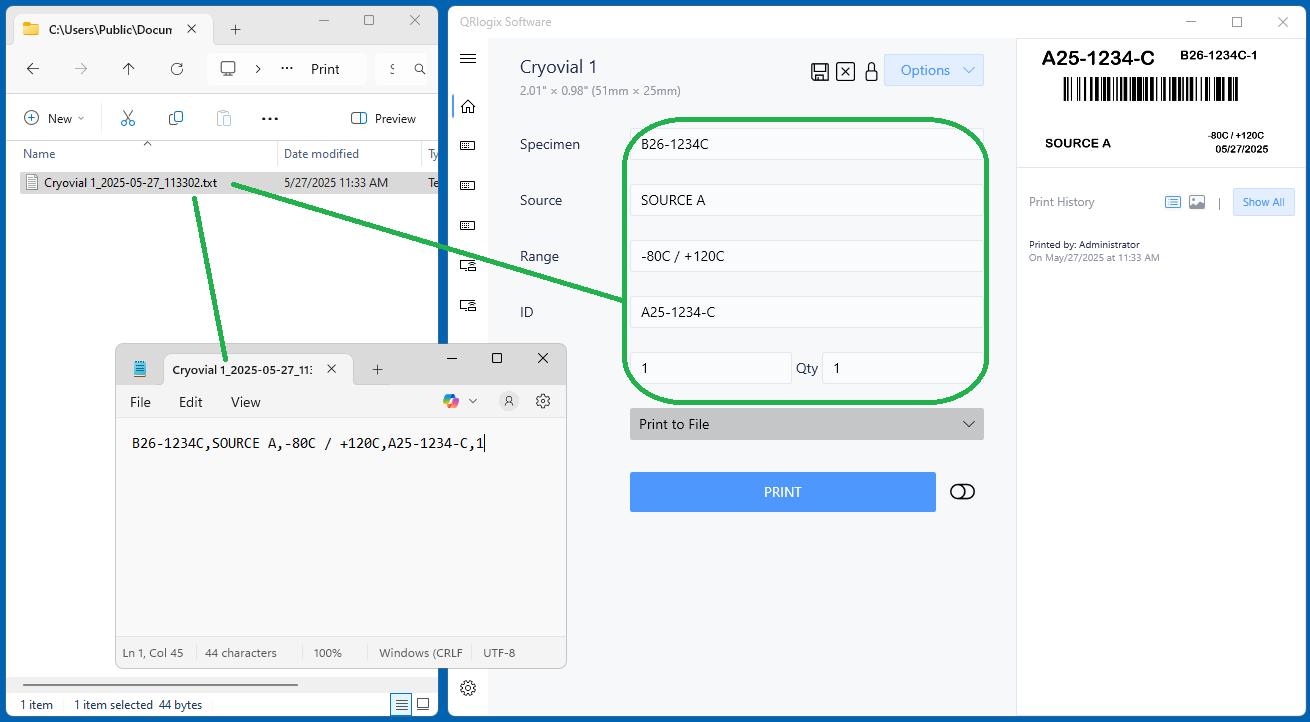
Print to File
Print-to-File sends print jobs as text files to a monitored folder instead of directly to a printer.

How Print-to-File Works
1. User prints label
2. QRlogix creates a text file with print data
3. Text file is saved to monitored folder
4. External service or printer picks up the file
5. Label is printed
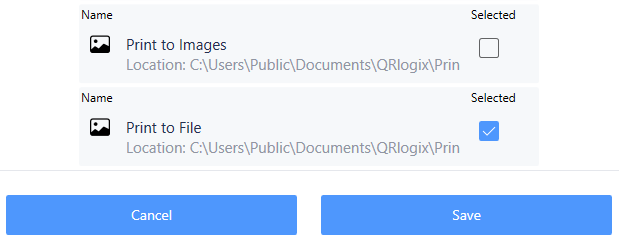
Enabling Print-to-File
- In Properties, scroll to Print to File section
- Unhide the printer selection dropdown (see above)
- Scroll to bottom of printer list
- Locate Print to File option
- Select it
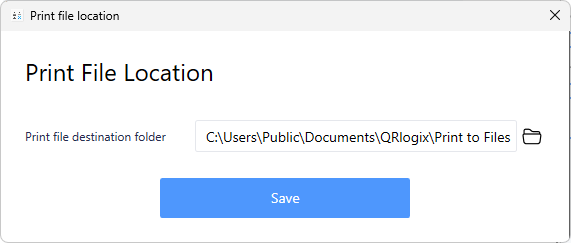
Configure Folder Path
Click the folder path to change the monitored folder location:
- Click current path
- Navigate to desired folder
- Select folder
- Save
Default path: Usually set during installation
Custom path: Any network or local folder accessible to both:
- QRlogix Software (for writing files)
- Printer or print service (for reading files)
Comparing Print to File to Print to Images
Print-to-File:
- Data Entry templates sending output to folders
- User manually initiates each print job
- Interactive workflow

File Drop:
- Automated monitoring of incoming files
- Automatic printing without user interaction
- Integration with external systems
Next Steps
- Lock/Unlock Form Fields - Optimize data entry workflow
- Printer Configuration - System-wide printer settings
- File Drop for Automation - Automated printing
Need Help?
Questions about template properties?
- Phone Support: 800-650-0632
- Email Support: Support@QRlogix.com
Related Articles: