Printer Selection - Print to Images
Print to Images allows users to see what their print jobs would look like, by printing to an image file.
Video: Print to Images
Key considerations:
- Default printer must be set to Print to Images. Once set to Print to Images, print jobs will NOT be sent to the printer, only the specified folder location
- The print images folder must be open to view the images, and the view should be set to large or extra large icons
- For a cleaner view of the print images, remove the navigation pain and other distractions from the window.
- When you are done with Print to Images, don't forget to reset the default printer!
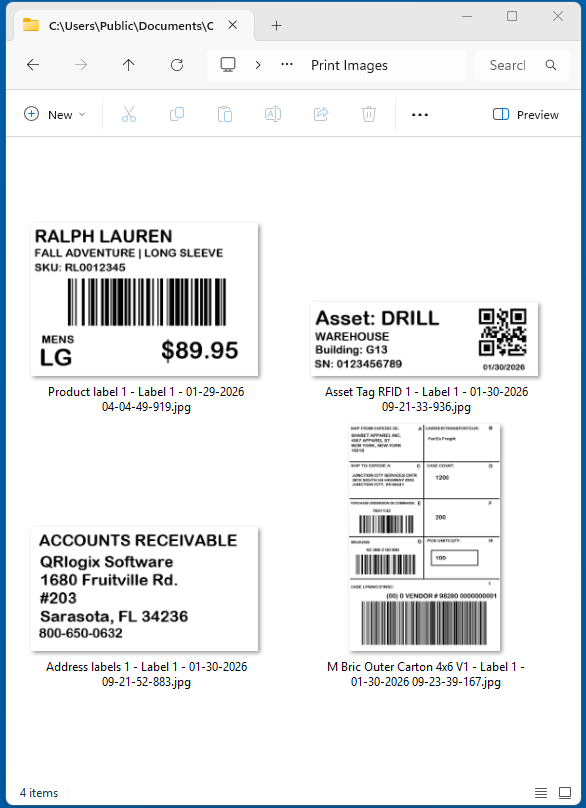
In the example above, the Navigation pain has been removed from the window to provide a more streamlined viewing area.
It is important to set the default printer back to your actual printer when done printing to images.
To Learn about Print to File, click below:
Printer Selection - Print to File
Users can send print jobs as strings of data, within text files. These print jobs get sent to a shared folder that is monitored by a printer. When a new print job text file hits the folder, it gets printed out on the printer. To Setup Print to File, first

To learn about Printer Selection, click below:
Printer selection
There are different options for assigning printers. 1. Default printer - set on dashboard 2. Template defined printer - Date Entry Templates 3. Template defined printer - File Drop Automation 4. Print to Images 5. Print to File Default Printer Set your default printer on the dashboard below the banner.
