Printer Selection - Print to File
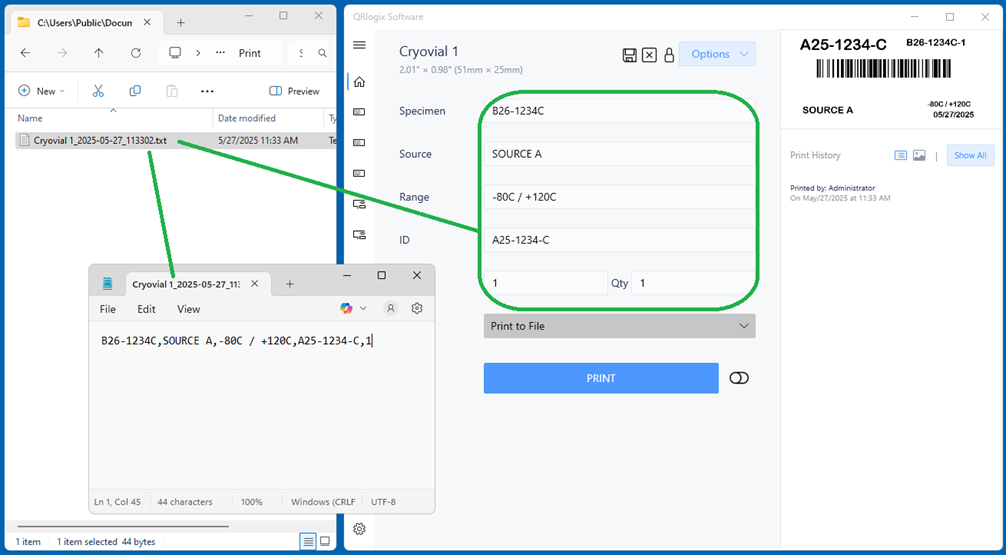
Users can send print jobs as strings of data, within text files. These print jobs get sent to a shared folder that is monitored by a printer. When a new print job text file hits the folder, it gets printed out on the printer.
To Setup Print to File, first unhide the printer selection dropdown by deselecting the Hide field toggle. Then, scroll to the very bottom of the list of printers and locate Print to File
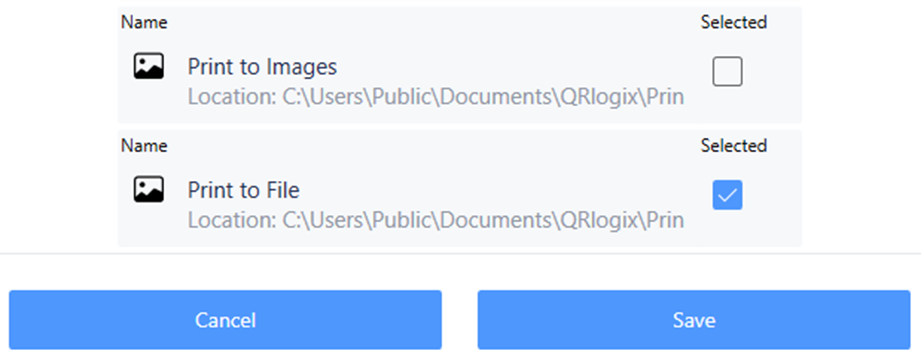
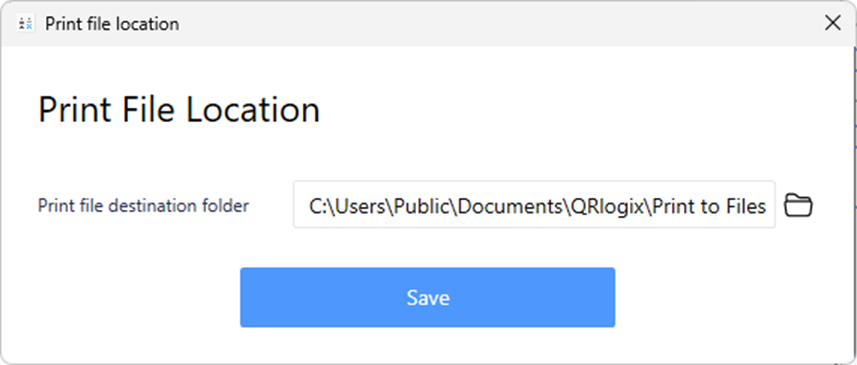
You can change the folder by clicking on the path and navigating to the new folder location.
Print to File process:
1. Form data is sent to a monitored folder as a text file
2. Text file data is picked up and printed
To learn about Printer Selection, click below:
Printer selection
There are different options for assigning printers. 1. Default printer - set on dashboard 2. Template defined printer - Date Entry Templates 3. Template defined printer - File Drop Automation 4. Print to Images 5. Print to File Default Printer Set your default printer on the dashboard below the banner.

To learn about Print to Images, click below:
Printer Selection - Print to Images
Print to Images allows users to see what their print jobs would look like, by printing to an image file. Key considerations: 1. Default printer must be set to Print to Images. Once set to Print to Images, print jobs will NOT be sent to the printer, only the specified
