Label Settings for File Drop
Label Settings is where you design the label layout using the fields configured in Data Settings.
Watch the Tutorial
Watch on Vimeo: Label Builder Tutorial
Accessing Label Settings
- Open your File Drop template
- Click Settings dropdown
- Select Label Settings
Using Available Fields
The fields you defined in Data Settings appear as Available Fields in Label Builder.
Example from Data Settings:
- Case Number
- Specimen Letter
- Stain
- Patient Name
- Physician
These fields can now be added to your label design.
Label Design Process
Step 1: Configure Label Defaults
Click settings wheel to set:
- Background (grid, dots, blank)
- Default font family
- Default font size
- Default X/Y positioning
Step 2: Add Fields to Label
Use Choose Element dropdown:
Template Field - Add data fields from Data Settings Static Text - Add fixed text (department name, etc.) Concatenate - Combine multiple fields with formatting Barcode - Add scannable barcode Image - Add logo or symbol
Step 3: Position Elements
Use X/Y coordinates to place each element:
- X = Horizontal (left to right)
- Y = Vertical (top to bottom)
- Based on 300 DPI
Step 4: Format Text
For each element:
- Font type
- Font size
- Bold, Italic, Underline
- Alignment
Step 5: Preview
Check label preview with sample data from Data Settings.
File Drop-Specific Considerations
Available Fields Only
You can only use fields defined in Data Settings. Unlike Data Entry templates, you cannot add new fields from Label Builder.
To add fields:
- Return to Data Settings
- Add the field there
- Return to Label Settings
- Field will now be available
Sample Data Importance
Label preview uses sample values from Data Settings.
Ensure sample data:
- Represents actual data length
- Includes special characters
- Tests maximum content
- Shows realistic formatting
Concatenation for Case IDs
Common pattern: Combine multiple fields into formatted ID.
Example:
- Field 1: Prefix (S22)
- Field 2: Case (1234)
- Field 3: Specimen (A)
- Field 4: Block (1)
Concatenate: @prefix@-@case@-@specimen@@block@Result: S22-1234-A1
Barcodes with Multiple Fields
Include multiple fields in barcode:
Build barcode:
- Select Barcode from dropdown
- Click field buttons in order
- Add separator characters
- Verify sample shows correct format
Example:
- Click "Case" → Type
;→ Click "Specimen" → Type;→ Click "Stain" - Sample shows:
S22-1234;A1;H&E - This is what will scan
Complete Tutorial
For detailed Label Builder instructions, see:
Complete Label Builder Tutorial →
The Label Builder works the same for File Drop templates, with the difference being you use fields from Data Settings instead of form fields.
Testing Your Label Design
Test Print from File Drop
- Save label design
- Return to File Drop homepage
- Verify Label Preview looks correct
- Click Test Print
- Check printed label
Test with Real File
- Create TXT file with real data
- Save to watch folder
- Verify label prints correctly
- Check all fields display properly
Common Label Layouts for File Drop
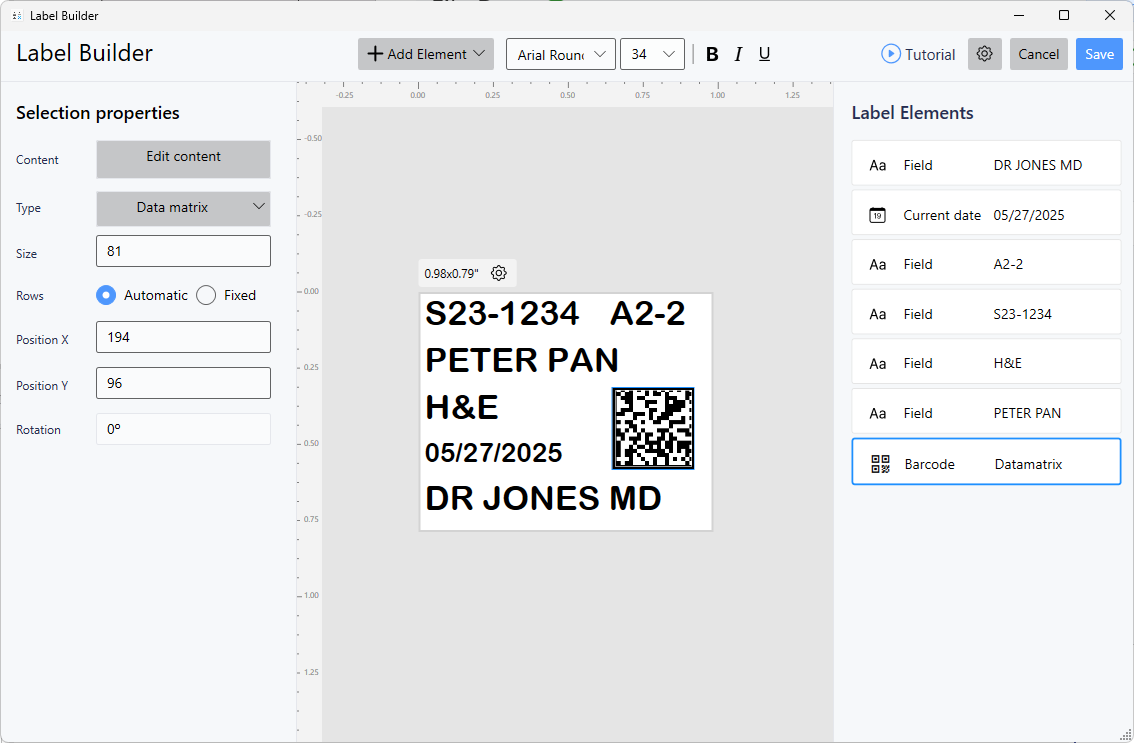
Basic Pathology Slide
Elements:
- Line 1: Concatenated Case ID (Case-Specimen-Block)
- Line 2: Patient Name
- Line 3: Stain
- Line 4: Date and Physician
- Barcode: Case + Specimen
LIS Integration Label
Elements:
- Line 1: Accession Number (large)
- Line 2: Specimen Type
- Line 3: Collection Date
- Line 4: Ordering Physician
- Barcode: Accession (full width)
Minimal Label
Elements:
- Line 1: Case Number
- Line 2: Specimen ID
- Barcode: Case + Specimen
Troubleshooting
Field Not Appearing in Available Fields
Cause: Field not defined in Data Settings
Fix:
- Close Label Builder
- Go to Data Settings
- Add the field
- Save
- Return to Label Settings
Preview Shows Wrong Data
Cause: Sample values in Data Settings incorrect
Fix:
- Go to Data Settings
- Update sample values
- Save
- Return to Label Settings
- Preview updates automatically
Label Doesn't Match Test Print
Cause: Positioning or font issues
Fix:
- Verify X/Y coordinates
- Check font sizes
- Adjust positioning
- Test print again
Best Practices
Design:
- Use grid background while designing
- Switch to blank for final preview
- Test with maximum data length
- Keep fonts readable (8pt minimum)
Fields:
- Only add fields you need
- Use concatenation for formatted IDs
- Include important data prominently
- Balance information with readability
Barcodes:
- Verify scan format matches system expectations
- Test scanning before production
- Include human-readable backup text
- Size appropriately for scanning distance
Next Steps
After designing labels:
- Test Your Configuration - End-to-end verification
- Review Interface - Check preview on homepage
- Understand Data Settings - Modify fields if needed
Need Help?
- Phone: 800-650-0632
- Email: Support@QRlogix.com
- Video: Label Builder Tutorial
Related Articles: